Now that my rendered exr files, with multipasses are ready, I can composite the scenes in Nuke.
Below: Node graph showing (green background) my CGI elements, with the shuffle nodes, which split out the passes. Colour correct nodes are applied to the passes so I can adjust the refraction, reflection etc accordingly.
My ID pass (small square to the right of the green background) includes my CG elements, each with a shader applied in Maya....in this case, red for the tree, green for the men and blue for the ice. I can then isolate any particular element if necessary.
The orange/mustard box shows my timelapse footage elements, this time with a transform node included in the pipeline - this is for any scaling etc that I may want.
The purple box shows the green screen elements. My green screen footage was shot at 4K resolution, so I've applied a reformat node, so the output will be HD 1080p
Below: Green screen footage 'read' node > reformat> keylight. The properties for the keylight node are highlighted in the red rectangle on the right. The smaller red rectangle shows the icons for the eydropper tool. Initially this shows up as a black square iceon (adjacent to the colourful one!)
'Click' on the black square and then 'CTRL Click' on the green screen area of the footage, in the viewer .
Below: Click on Screen Matte and then adjust the black and white clip planes, so that all the black is completely black and all the white is completely white, with no grain.
Below: A Gaussian blur node is applied below - blur node ringed in red
Below: to turn off the blur node temporarily, so that the 'difference' is easy to spot, simply highlight the node by clicking on it and press 'D'. Press D again to reactivate.
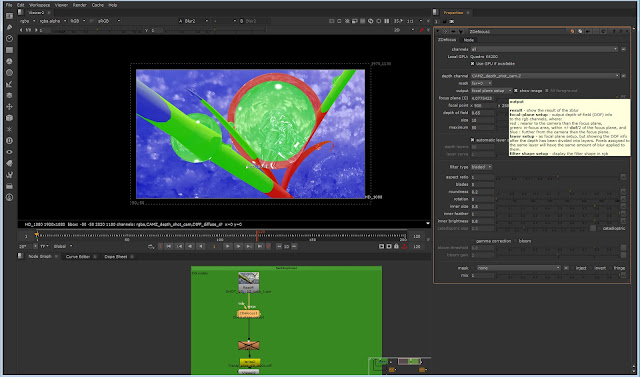
Below: The CGI elements using the Zdefocus node, and adjustments to the focal plane set up - the channel is set to the CAMZ_depth channel. Far = 0
Green is in focus, and I've adjusted the sliders to create more or less blur, as shown in the images below


