Previs stills - working on the final shots of 'Thaw' and the timings...
I prefer the look of a growing 'shoot', rather than fully formed leafs....and I love this moody, abstract backdrop...
It's been great to scroll through the saved render shots, as it's given me a glimpse of how the water droplets will look once animated, by way of lattice deformers....
I'm now putting a Previs together, using playblasts from Maya and importing into Premiere...
blocking out camera moves, timings and checking against the animatic...
Below are a few screen shots of the original Photoshop images in the animatic, above the corresponding rendered screenshot in Maya...
The Maya shots are yet to be lit correctly, with final materials and comp, but these shots will give me an impression of the timings and where I need to adjust...
Shot_16 (Photoshop image from my animatic). Brendan Body suggested that the ice men are shown in contrast against the background, so that the focus of the scene is clear to the audience; and that the background should be simple and atmospheric...
Shot_17 (Maya render screen shot from the Previs. Woman's hand will be live action and filmed in the green screen studio and comped in Nuke. Using a contrasting, atmospheric and more simple backdrop
When I created the playblast the model disappeared....after reading some frustrated rants in Maya
forums (!) I discovered that other people had the same problem....simply change the renderer settings in the panel from 'Viewport 2.0' to 'Legacy Default Viewport'. It resulted in the model material changing and the ice men looking mysteriously purple (quite nice, but not icy!); but none the less, for Previs purposes this is ok....
Shot_17 (Photoshop image from my animatic) the woman will be live action and filmed in the green screen studio and then comped in Nuke.
Shot_17 Maya screen shot in the Previs
Shot_18 (Photoshop image from my animatic). As shot 16 Brendan Body suggested that the ice men are shown in contrast against the background, so that the focus of the scene is clear to the audience; and that the background should be simple and atmospheric...
Woman to be live action and filmed in the green screen studio
Shot_18 Previs screen shot in Maya (final materials, textures, lighting) to be completed....
Shot_23_water_droplet (Photoshop image from animatic)
Shot_23_rendered_image from Previs. Live action hand to be filmed in green screen studio. Fog, junk and God Rays to be comped in Nuke
Rigging and joint creation for fingers and thumbs...
Showing the joint hierarchy and naming conventions highlighted in blue, in the Outliner
As the movement of the thumb joint, is at an angle, compared to the fingers, the rotation axis within the thumb joints needs to be adjusted.
Below is an example of the handwritten notes I take in class, in addition to the live tutorials and brilliant work sheets that Sean creates...
By listening, watching and writing simultaneously, I can get a deeper understanding of what is required...
Image below of the joints in 'component' mode....and each individual gismo and rotation axis being adjusted.
L_thumb_01_bind joint retains the same orientation in X,Y,Z axis, as the finger joints (e.g Y is vertical, X and Z are at 90 degrees)
L_thumb_02_bind joint (second joint down the chain) has the orientation adjusted, so that the Y (green) axis is rotated outwards to about 45 degrees (perpendicular to what would be the thumb nail).
And the X (red) axis points directly along the chain to the next joint along...
The rotation orientation adjustment was made created in the Perspective view by eye...
Selecting the hierarchy in Outliner and testing the rotation of all joints simultaneously
Creating heel locators, snapping to the ankle joint then repositioning (making sure that the pivot point is also moved)
Time to create my Previs....accompanied by the soundtrack from Bedrich Smetana's "From My Life" ( a composer who became deaf....and continued to write and compose) ...
I discovered this album whilst on my Theatre Design degree at Wimbledon....as we were given the brief to design a contemporary ballet using the music 'From My Life'; depicting Smetana's relationship with his wife.
To portray the onset of his deafness and his internal journey and acceptance around this, I designed a series of Art Nouveau costumes inspired by John William Waterhouse's 'The Lady of Shalott' (incredible creation of 'daylight' with oil paint) and a set which was jet black, apart from illuminated gauzes, each showing an Art Nouveau rose in a varying state of decay....
Each gauze was sequentially lit, using foreground dimmers and backlights...thus making the gauzes magically dissolve, revealing another stage of decay.....real time animation!
Interesting that Thaw also has similar themes, including symbolic flowers...and that I have selected this piece of music to work to today...
In preparation for an Andy Warhol screen printing class at the DCA in Dundee tomorrow, I've been playing in Photoshop...the simplest result was creating two effects layers....one for vibrance and saturation (cranked up) and the other for posterise...
So, with my new fantastic Oneplus 3T, I've recorded this timelapse footage....
Shot in the standard factory setting (non-adjustable as far as I am aware) 1080p HD...
There is the option of 4K for stills...
1. Right-click on your clip and select ‘Show Clip Keyframes>Time Remapping>Speed’
2. Increase your speed
Simply drag the ‘Rubber Band’ on your clip up and down to increase/decrease the clip duration. You can Command+Click on a Mac or Control+Click on Windows to set keyframes. There are actually a lot of really cool ways to manipulate clip speed using this feature. The video tutorial below outlines a few helpful ways to use the Time Remapping Tool.
The slo motion sunset (and lucky bird) is as per the default settings within the Oneplus 3T; which, by the way, you could also make phone calls with, if you have the time....
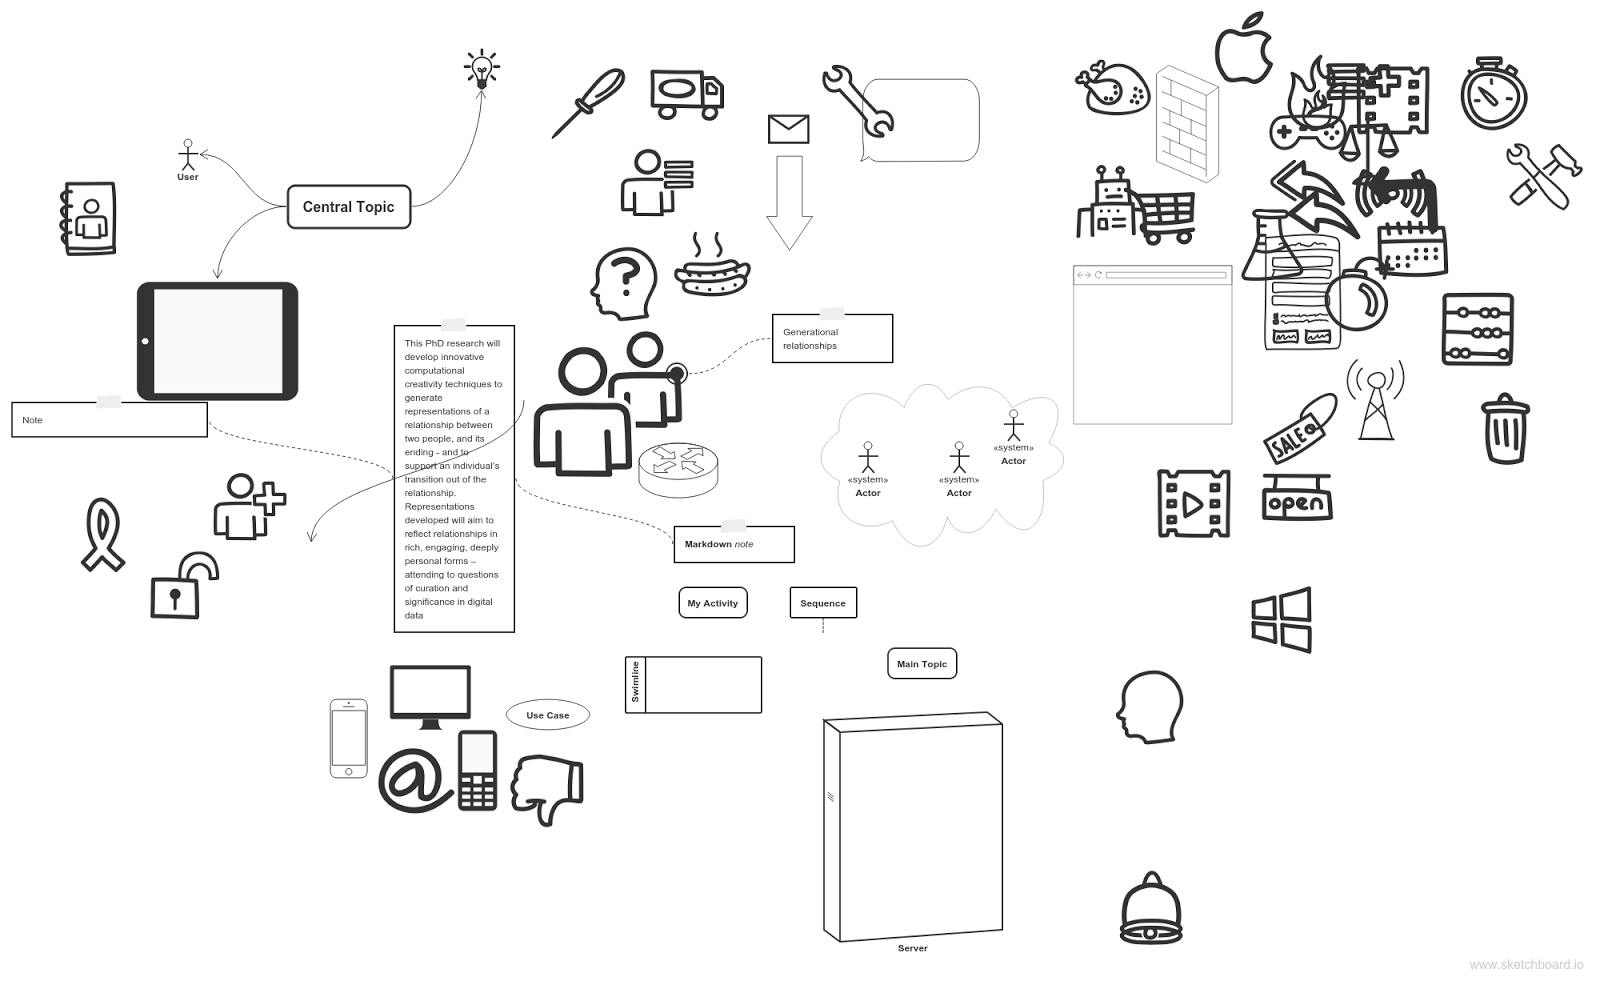
Found this great link, as a helpful online tool, to help me get my thoughts and ideas into a structure, in preparation for an industry facing, arts practice PhD application
Great lecture by Prof. Nicola Stanley-Wall, as part of the Discovery Days 2017 series at Dundee University...https://www.dundee.ac.uk/revealingresearch/newsandevents/discoverydays/
I was particularly struck by the notion of 'good bacterial raincoats'...
The image below, that resembles a leaf/doily/jellyfish is, in fact, a microscopic protective film (good bacterial raincoat) caused by bacteria. The film is so waterproof, that water (as shown here by way of microscopic beads of water, dyed with food colouring) cannot be absorbed at all; hence the reason the droplets stay completely spherical.
It reminded me of the instinctual process I went through when creating the water droplet for Thaw...
and knowing 'for some reason' that a water droplet, on a leaf, is deformed....I didn't realise that this was because some of the water is absorbed by the leaf....
Initial water droplet that I created in Maya - simply using a polygon sphere with a mia_material_x water shader
Sphere deformed by a lattice; to show water blobs influenced by water
Experiments with ice-shader techniques in Maya...following this tutorial link
and then further experimentation and adjustment of settings....
Test heads using the mia_material_x presets
Blinn material with the transparency turned down
Assorted tests adjusting the transparency settings, Raytrace options, refraction and glow intensity
The Raytrace settings at '4' give a fiery look, which could be a good effect when the ice men are about to melt
Using a ramp shader and a bump map with a noise node in hypershade...the bump map depth is set to 0.005 to give some texture...
Next step is to continue adding lights so that the features begin to stand out
Throughout the design process, I find it good practice to refer back to original concept artwork and design development, to make sure that the final images are progressing in line with the original intent of the concept art...
Visual inspiration
2D Photoshop concept art, inspired by the above image
3D model in Maya...the hand of the actress will be filmed in the green screen studio at DJCAD....other effects (such as the technical 'fog and junk' haha) will be composited in Nuke....with of course my favourite 'God Ray's...
I've used a bright winter sunshine backdrop for this shot, but will do some alternative tests using a lilac backdrop to recreate the above concept art and see how it compares...