Sunday, 2 April 2017

Lens flare and titles in After Effects

I need some help with setting up the image planes and eyelines for my composition shots, involving the CG elements and the green screen live action....
so in the meantime, I've been following some tutorials on creating glass effects in After Effects
By application of normal maps, texture maps, lens flares and 3D camera views...
I've animated the centre point of the lens flare, so it moves across the screen, and each individual letter dissolves and moves in 3D space...

Friday, 31 March 2017

Prelude CC to view green screen footage - and positioning CGI elements with no camera movement

So, the next step, before I start animating, will be to position the tree and my icemen correctly, according to the eyeline of my actress, Kerry.
There is no camera movement, so there was no need for any tracking markers or subsequent camera tracking in Nuke.
For the purposes of positioning the icemen and tree correctly, I am going to take a snap shot of one of the green screen frames and then apply that to the scene, by way of an image plane in the foreground. I can then position the shot_cam correctly and know that my icemen will be in the correct position.
This is shot 12...

Animatic image shot_12
Characters on branch, prior to adjustment

Using the reference node to duplicate rigged characters in Maya


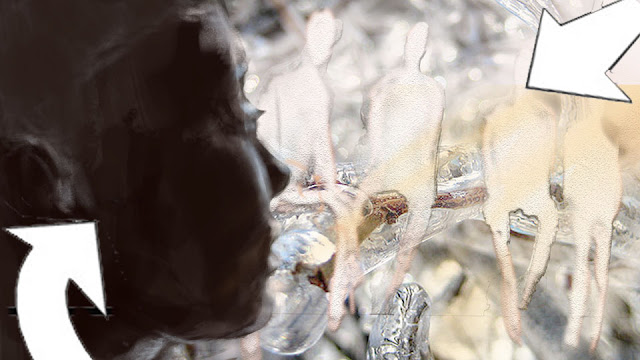
Tree scene with duplicated ice men...great to reflect back on some of the original inspiration and references for the icemen character - in this case the water woman in the Abyss...to keep a close eye on adherence to the original concept ideas.
I found that when I duplicated the iceman that the skin bind was lost...so in this scene I have one man directly in the scene (far right) and the others are referenced in (right click in an empty space on the Outliner and select reference). I created a stand alone scene file, with just a T pose iceman within it...this is the file that is referenced...


Sunday, 26 March 2017

Test render, using the UV mapped tree, IBL lighting, directional lighting in Maya

Test render using Mentalray - showing the UV mapped tree with bark, IBL lighting, directional lighting and the model using 50% thin glass and 50% frosted glass settings.
Left: Render view    Right: Geometry and image plane in perspective view and a tear off 'shot cam' panel, which gives me a camera view at all times, regardless of the viewing angle in the perspective viewport

UV mapping a tree in Maya

Final UV map: layout created by the Bonus Tool, then repositioning, scaling and creating a high resolution texture in Photoshop.

    Left: Map   Right: Perspective View
Left: Test render with a bump map applied at a setting of 0.5   Right: Perspective View

Saturday, 25 March 2017

Photoshop to create a scaled texture for Maya; using a UV Snapshot

Rather than having overlapping UV's or creating multiple sets, I am scaling and repeating the bark texture in Photoshop.
Left: UV map, rotated 
Right: UV map taken as a UVsnapshot (found in the drop down menu > polygons in the UV editor interface) - with the bark texture imge imported as a separate layer. scaled down and repeated. I have used the eraser on an airbrush setting, to blur out any hard edges. Each new segment of the texture, when created and copied by pressing (CTRL + ALT) automatically becomes a new layer. Once happy with how the bottom row of texture is looking I can then right click and merge all layers. The second row was a duplicate of the first, but rotated 180 degrees, airbrushed and tweaked to remove any visible hard edges or pattern repeats.
Tree with the new small scale bark image. Next step will be to adjust the UV map and figure out why a portion of the main branch remains smooth
In component mode I am able to select the faces on the geometry, where the texture is looking weird. I can then look at the UV editor and see which part of the map needs to be adjusted. I can use the cut UV tool and then smooth and optimise the map to reduce the distortion....
Using the settings in the UV editor to highlight the distorted areas
Applying a checkered/numbered texture so I can see how the pattern deforms along the branches...whilst the bonus tool was great to get the basic map, I've needed to adjust a couple of areas where the distortion was severe and the scale of the map so tiny that the texture was looking blurred and out of proportion. Whilst time consuming, this will be worth the effort in the long run...

UV mapping. Placing textures and normal maps onto a tree in Maya

 UV mapping the model using the UV Bonus Tool
Initial results in the UV editor

Applying a bark texture in the Hypershade UI
Initial test render showing the first results of a placed texture, using the UV map. I can then go back into the UV editor and play about with the scale of the map, to get the bark texture at a better scale. I like the mottled effect that this CG texture (free from CG Textures) is producing already.
Application of a normal map alongwith the texture. This render shot is before I've attempted any further scaling of the map.